
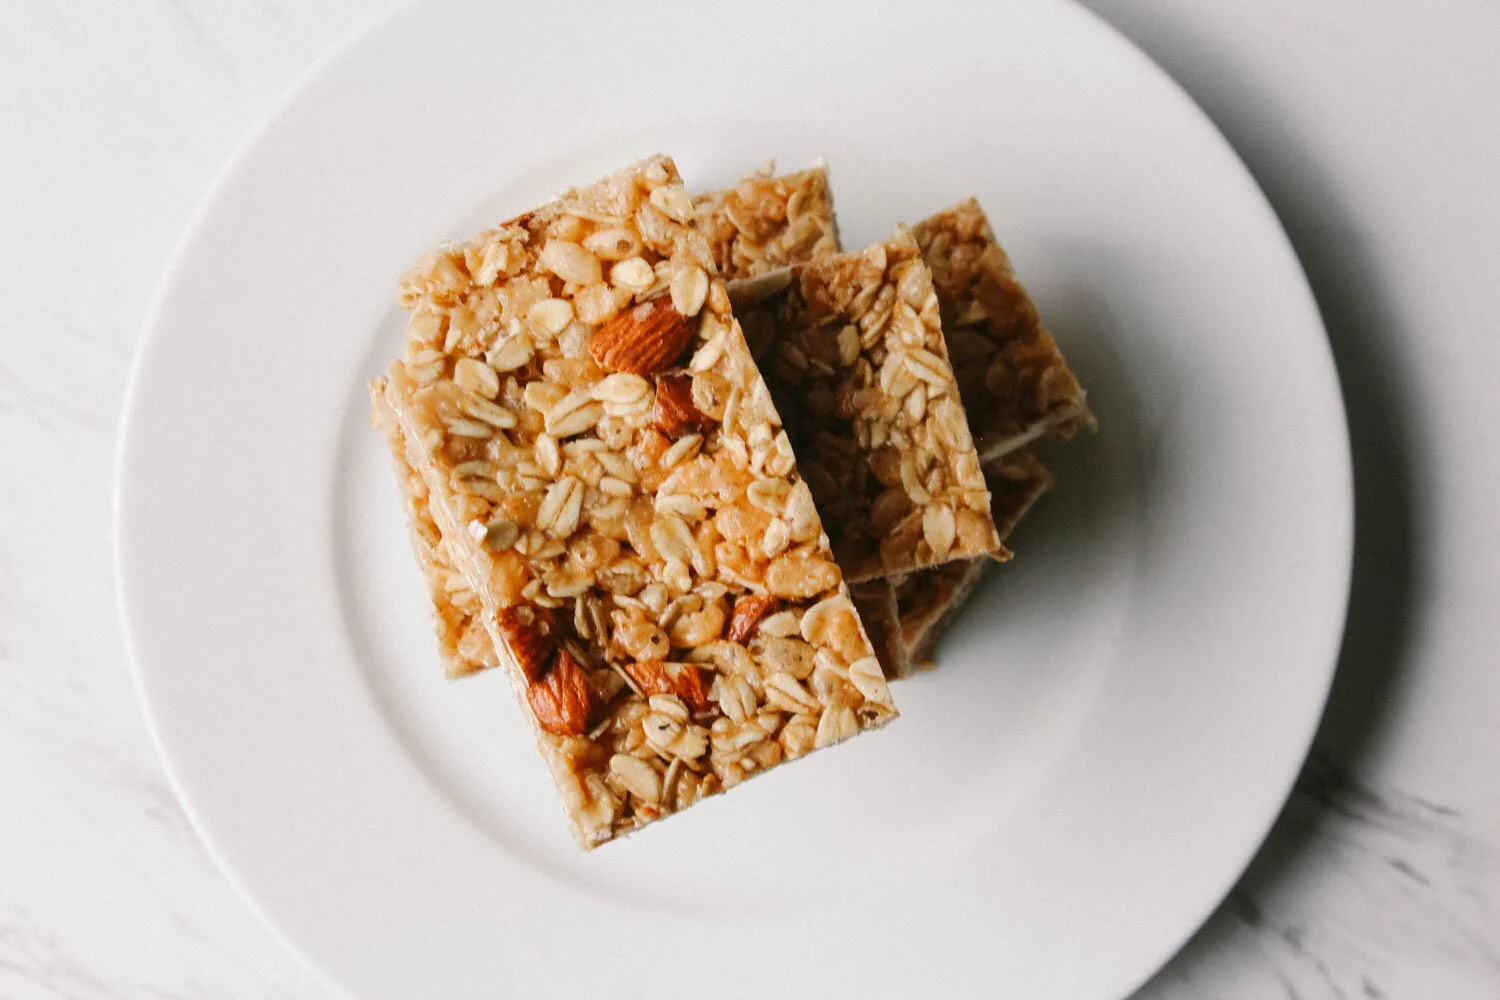
Classic Granola Bars
I’m sharing my go-to granola bar recipe with you
One of my favorite desserts to make these days is granola bars. They’re quick and easy, and don’t require baking! They’re nice to give as gifts, too.
The other thing is, I’m pretty picky when it comes to store-bought granola bars, because most are filled with lots of sugar or non-food additives
I have a few granola bar recipes that I like, none of which require baking. Now, if you’re making a no-bake bar, that means you have to use some kind of sticky binder to hold the bars together. One thing that’s kind of a deal breaker for me is whether or not I have to keep them refrigerated. I like when I can take a bar, wrap it in a napkin, toss it in my bag and not have to worry about it falling apart or melting all over the place. Some granola bars that rely on nut butters as a binder seem to have this melty problem (peanut butter or almond butter, for instance). Another popular binder is dates. I like those types of bars too, but they can get a little too sweet for my taste. The classic granola bar recipe I'm sharing here uses coconut butter as a binder. Coconut oil (the oil in coconut butter) has a higher melting point than many other kinds of oils so the bars stay harder at higher temperatures than a bar made with peanut butter. If you’re going to the tropics, then I can’t promise you anything. But for the most part, I don’t find the need to keep these bars in the fridge.
This recipe (below) is adapted from Dreena Burton’s recipe in her amazing cookbook, Plant-Powered Families. I call my version here “Wintery Classic Granola Bars”, though in all honesty they’d be good any time of the year. I make these so often that at any given time, I probably have all the ingredients needed to whip up a batch right on the spot. Make these once and you’ll see why I like them so much!
I made these right after Christmas, when I was inspired by the flavors of the holiday. I’d just made a batch of dairy-free eggnog and had some leftover nutmeg- I’d forgotten how wonderful fresh grated nutmeg tastes and smells. I figured, ‘why not in a granola bar?” So, these bars are flavored with nutmeg, cinnamon and vanilla. I added some chopped almonds for a little crunch, but you can leave that out if you’d like (in which case, the bars would be completely nut-free). Other cool thing? As long as you use gluten-free oats and oat flour, these bars are completely gluten-free. Wintery Classic Granola Bars for the win!
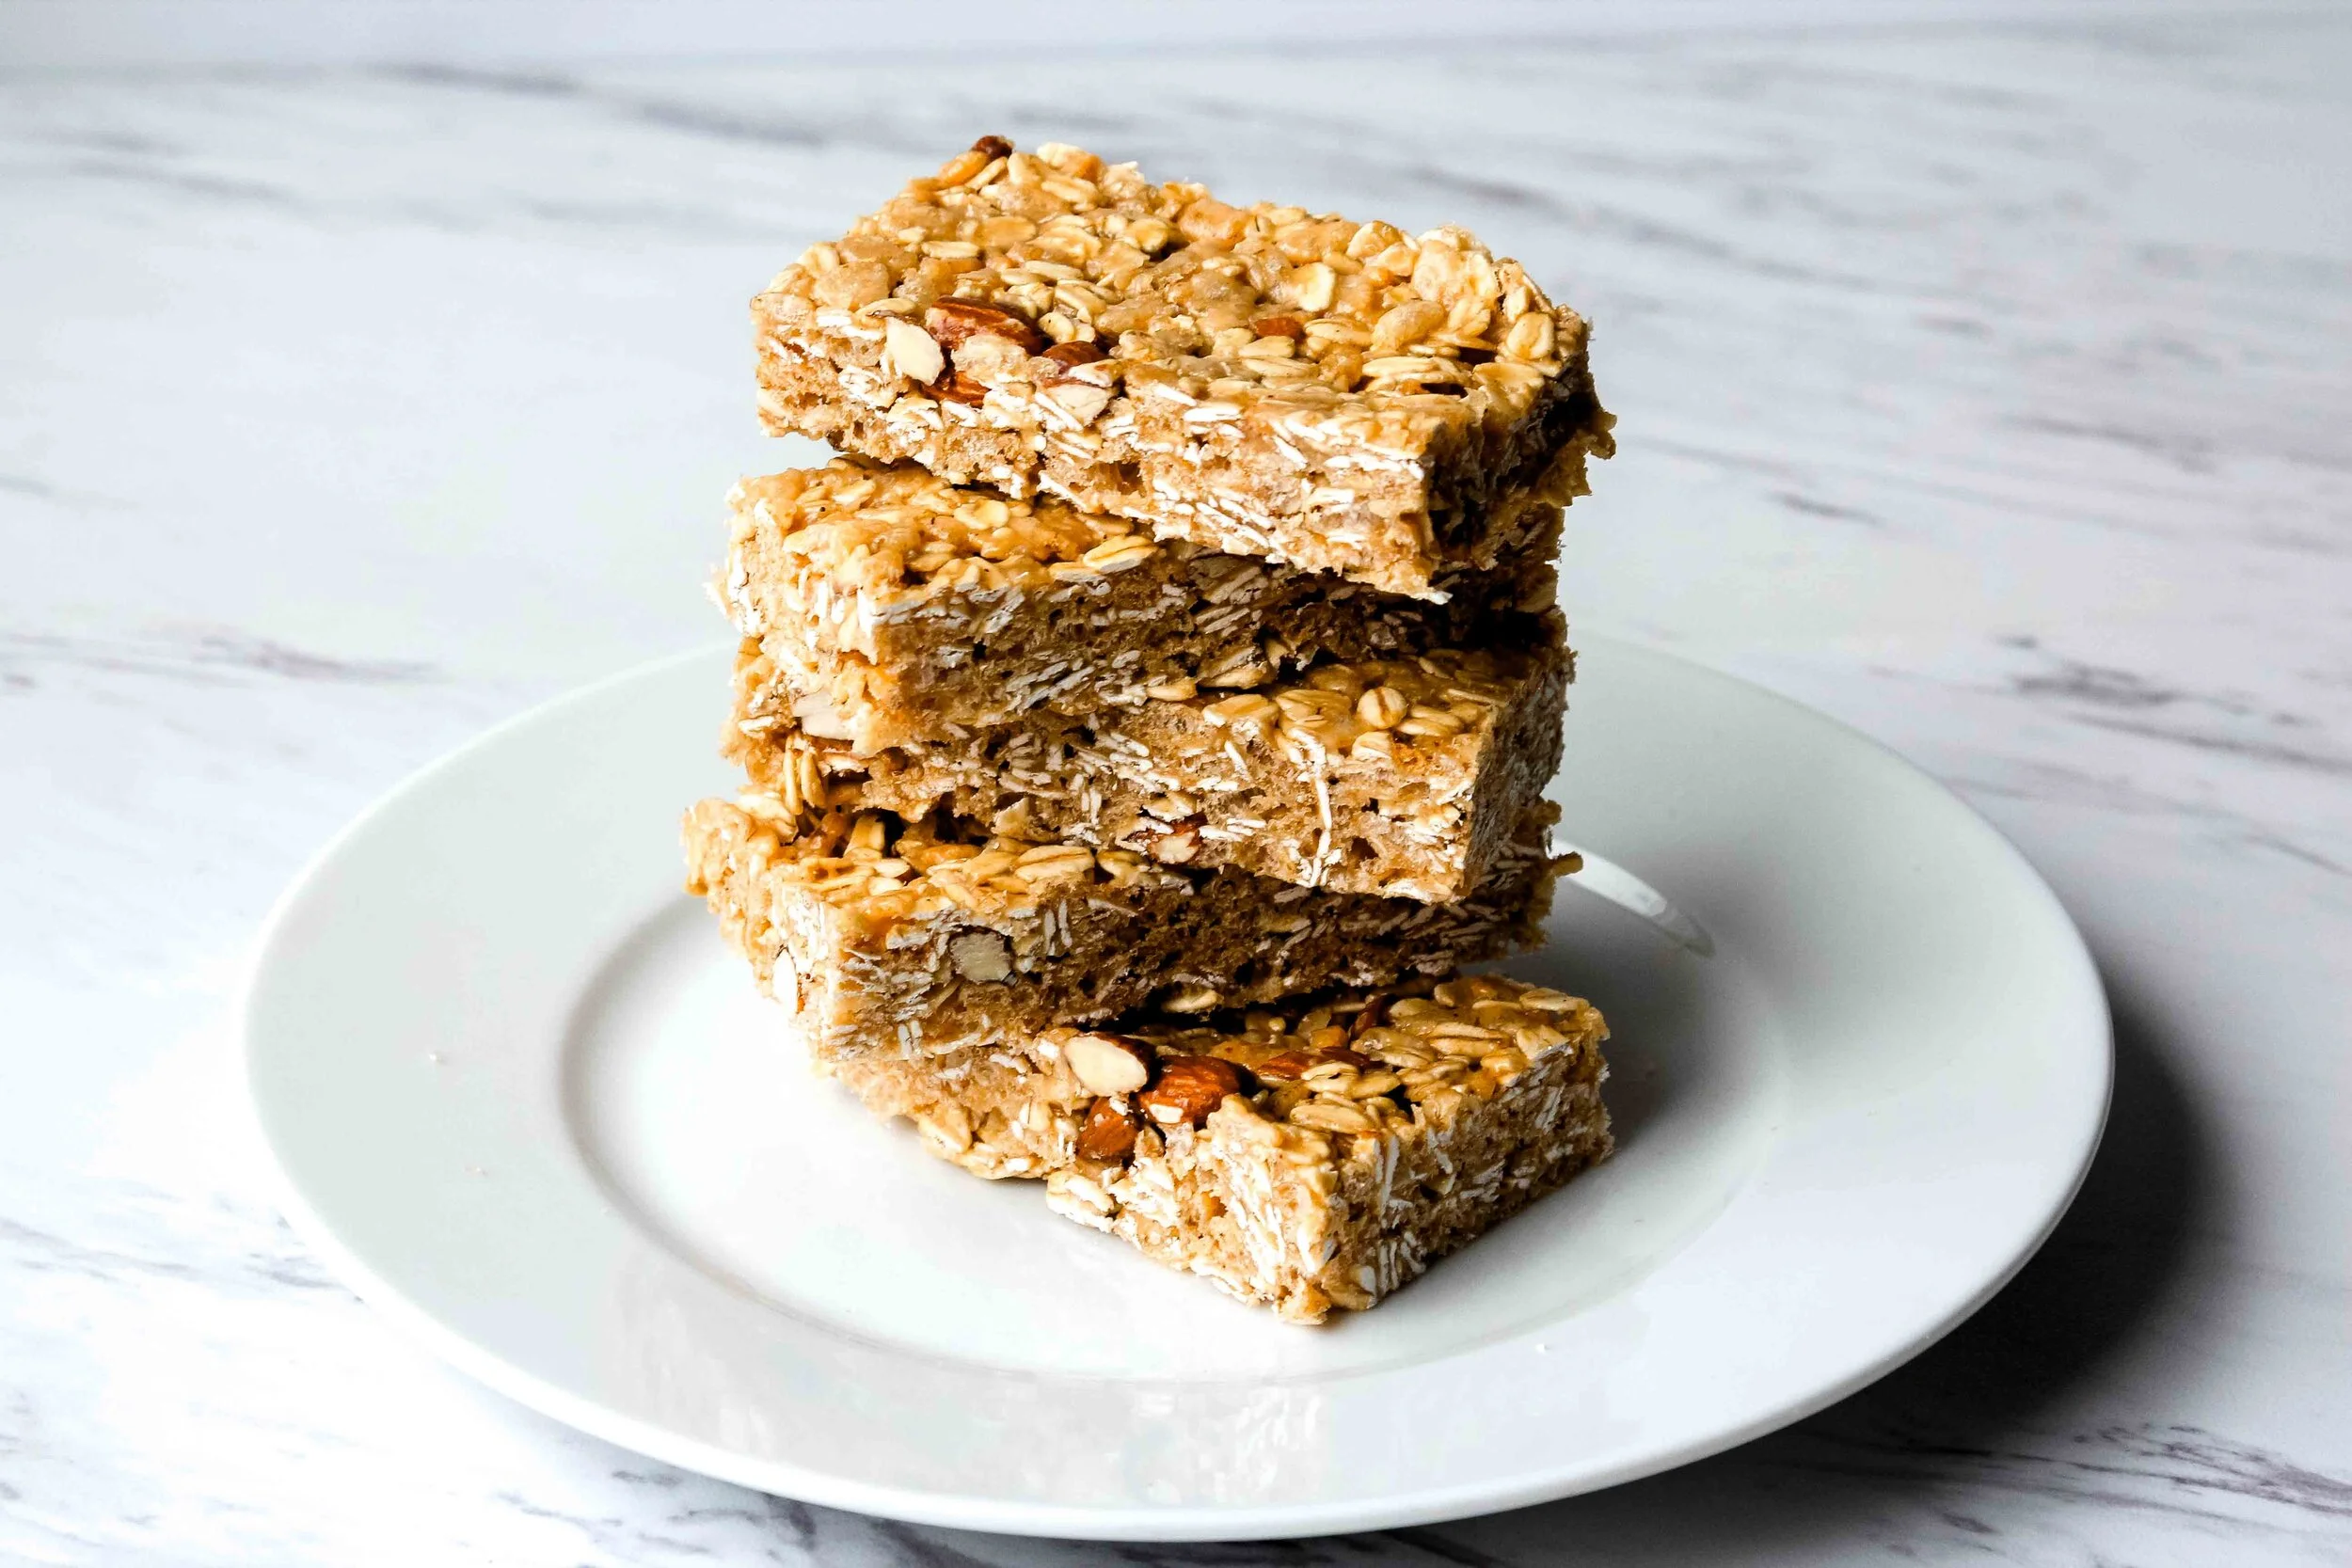
Wintery Classic Granola Bars
Makes 8-10 bars
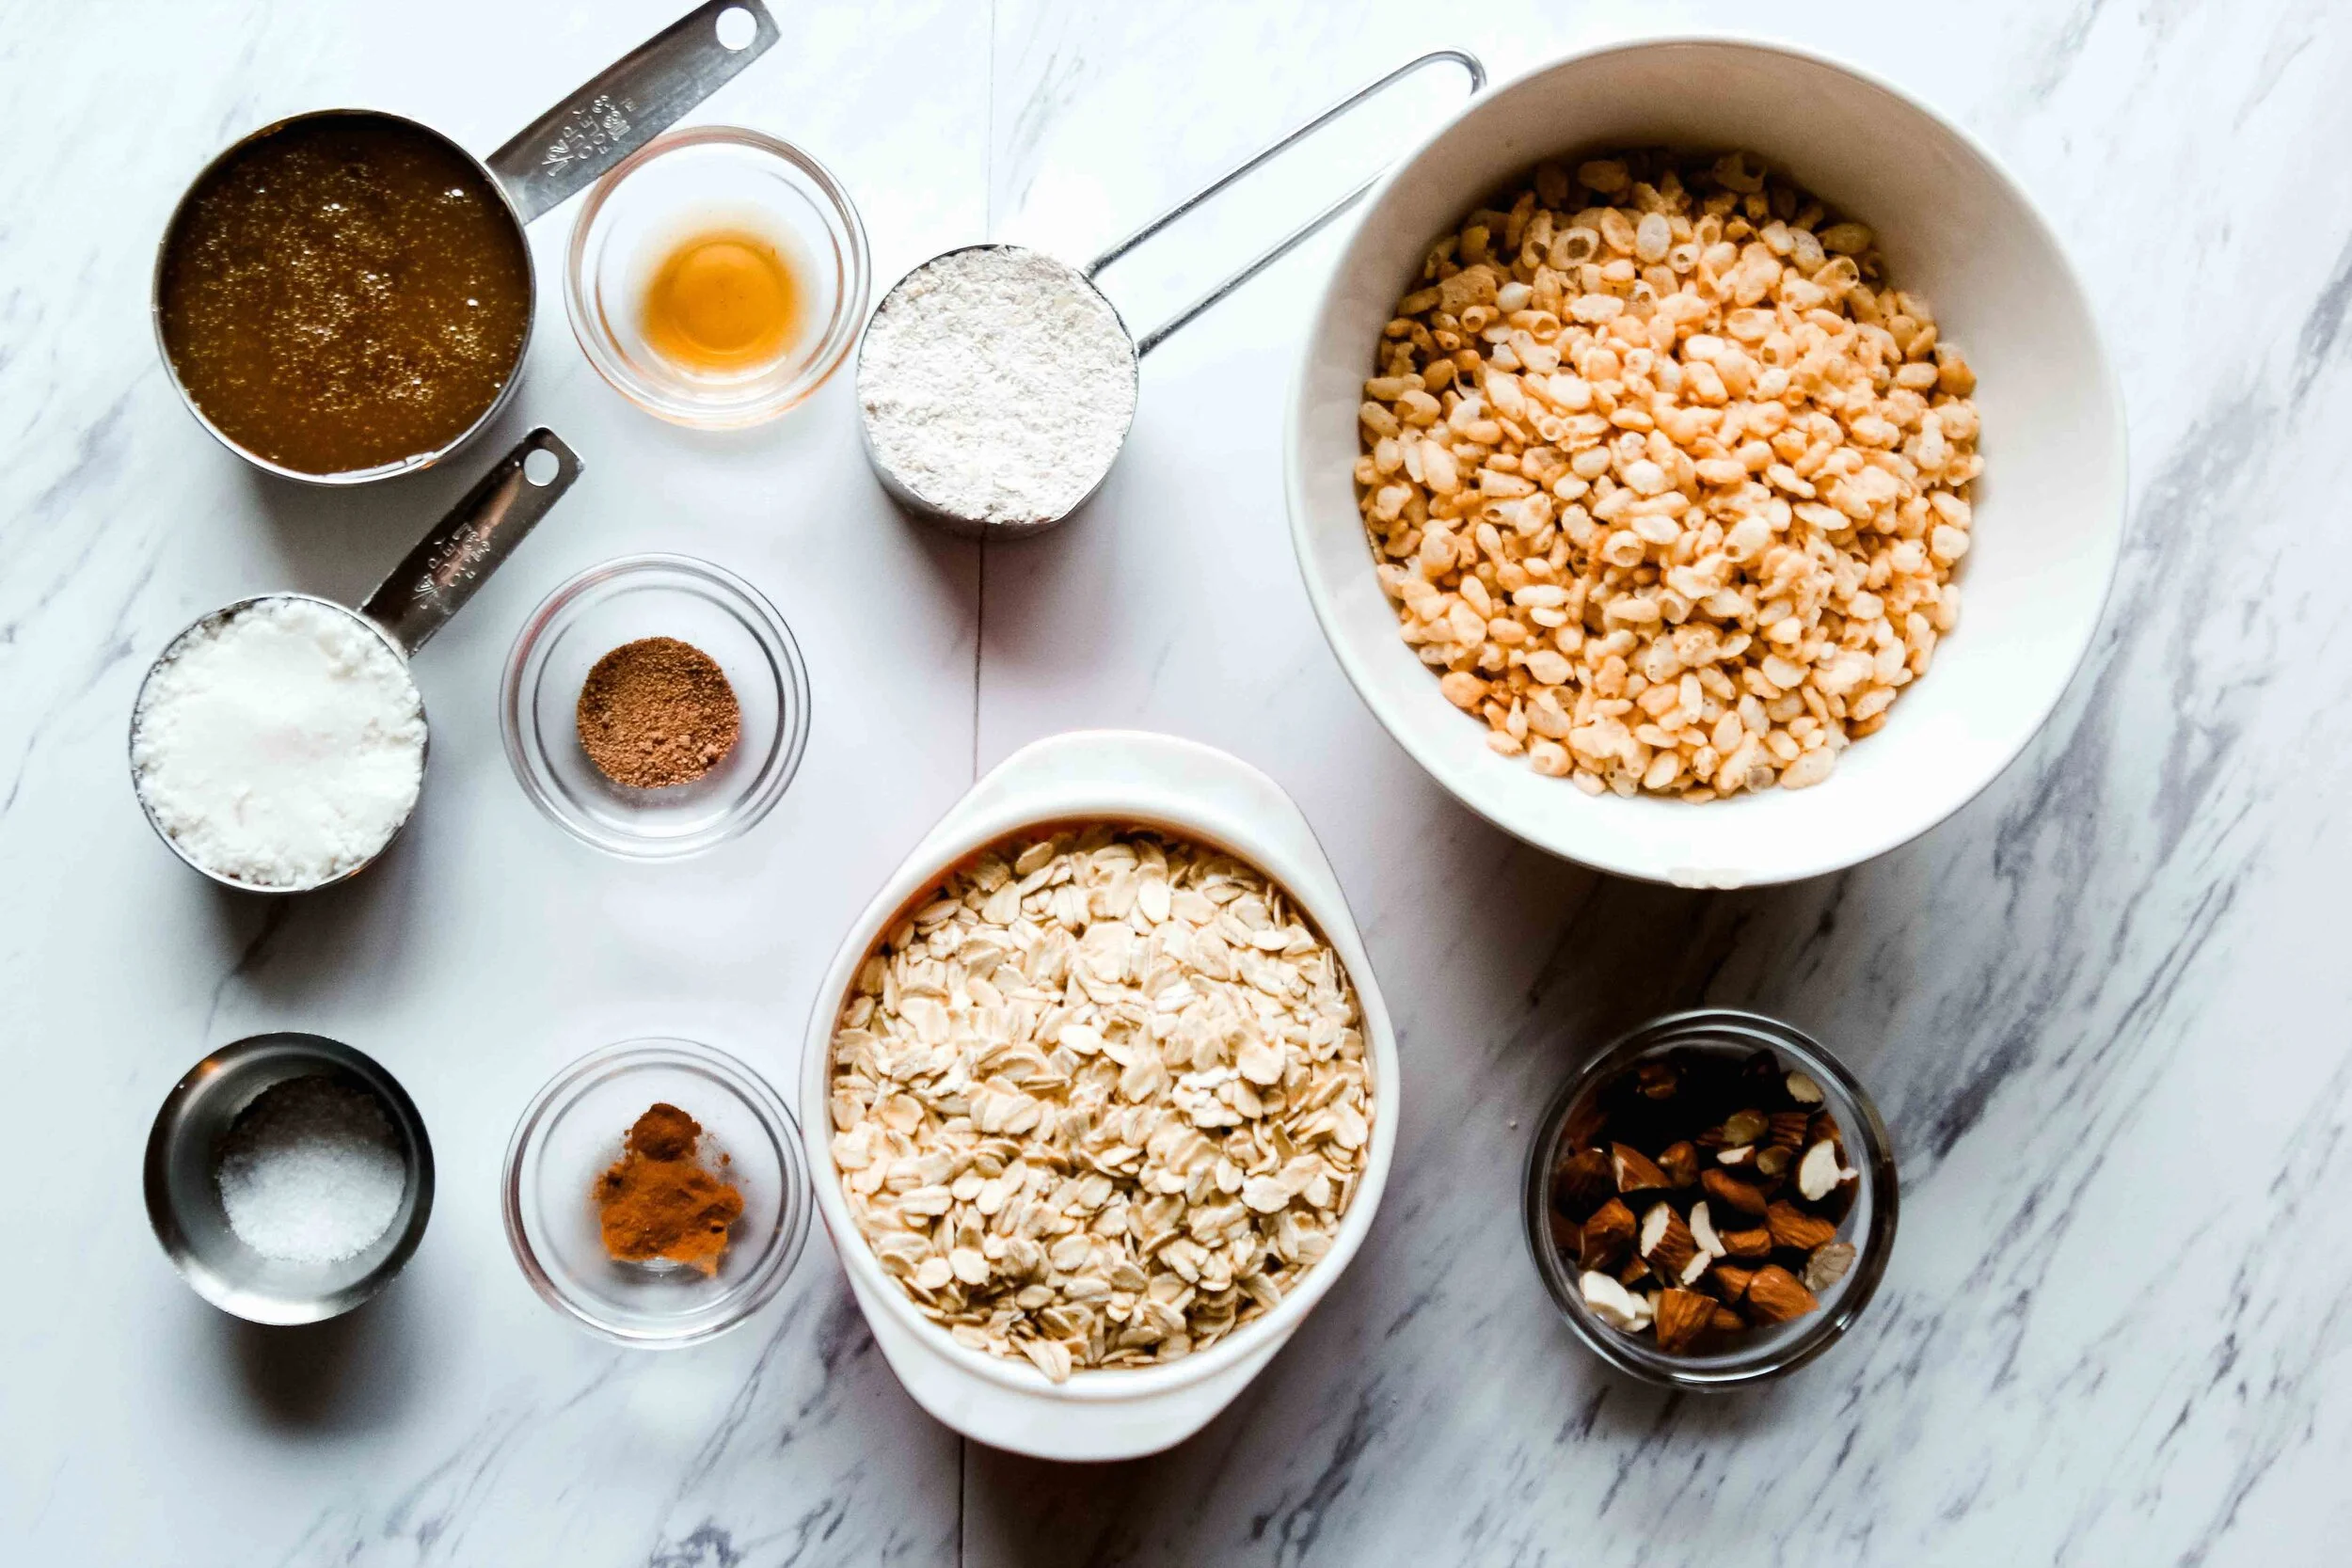
Ingredients
1/2 cup brown rice syrup
1/4 cup packed coconut butter
1 teaspoon vanilla extract
1/4 teaspoon sea salt
1/2 teaspoon cinnamon
1/2 teaspoon freshly ground nutmeg
1 cup regular rolled oats
1/4 cup oat flour
1/4 cup roughly chopped almonds
1 1/2 cups brown rice crisp cereal
Ingredient Notes
*Brown rice syrup is a thick liquid sweeter that also works as a binder in this recipe. You can purchase it in the baking aisle of your grocery store. If your store doesn’t carry it, look for it online.
*Coconut butter is not the same as coconut oil. Make sure you get the butter! Sometimes it’s called ‘manna.’
*Nutmeg: if you can, grate whole nutmeg instead of using pre-ground nutmeg. It adds much richer flavor. Also, you can use less than what I recommend here if you’re not a fan. You can up the cinnamon if you like, too.
*Regular rolled oats: be sure you’re not using instant oats, the recipe won’t work the same.
*Oat flour: you can find this in the baking aisle or in the bulk bins at your grocery store. Or, you can make it yourself by grinding whole oats in your food processor or high-speed blender- a great money saver when you only need a small amount.
Directions
First line an 8’’ x 8’’ baking pan with parchment paper. If your pan is not exactly 8’’ that’s ok, it’ll just impact the thickness of your bars. Then prep your ingredients.
In a medium saucepan over low heat, melt the brown rice syrup and coconut butter and mix together. I like to use a spatula or wooden spoon as my mixing tool. If “low” on your stove isn’t enough to melt the coconut butter, raise the heat a little till the ingredients are melting. Next, add the vanilla, sea salt, cinnamon and nutmeg.
Once everything is evenly mixed together, stir in the rolled oats and allow them cook for 2-3 minutes. Keep your eye on the pot and stir frequently. You don’t want the oats burning or sticking to the bottom. Stir in the oat flour. Once everything is combined, remove the pot from the heat.
Working quickly (while your mixture is still easily pliable), stir in the nuts and the rice crisp cereal. With the cereal, I’ll usually work in a couple of batches to make it easier to combine everything.
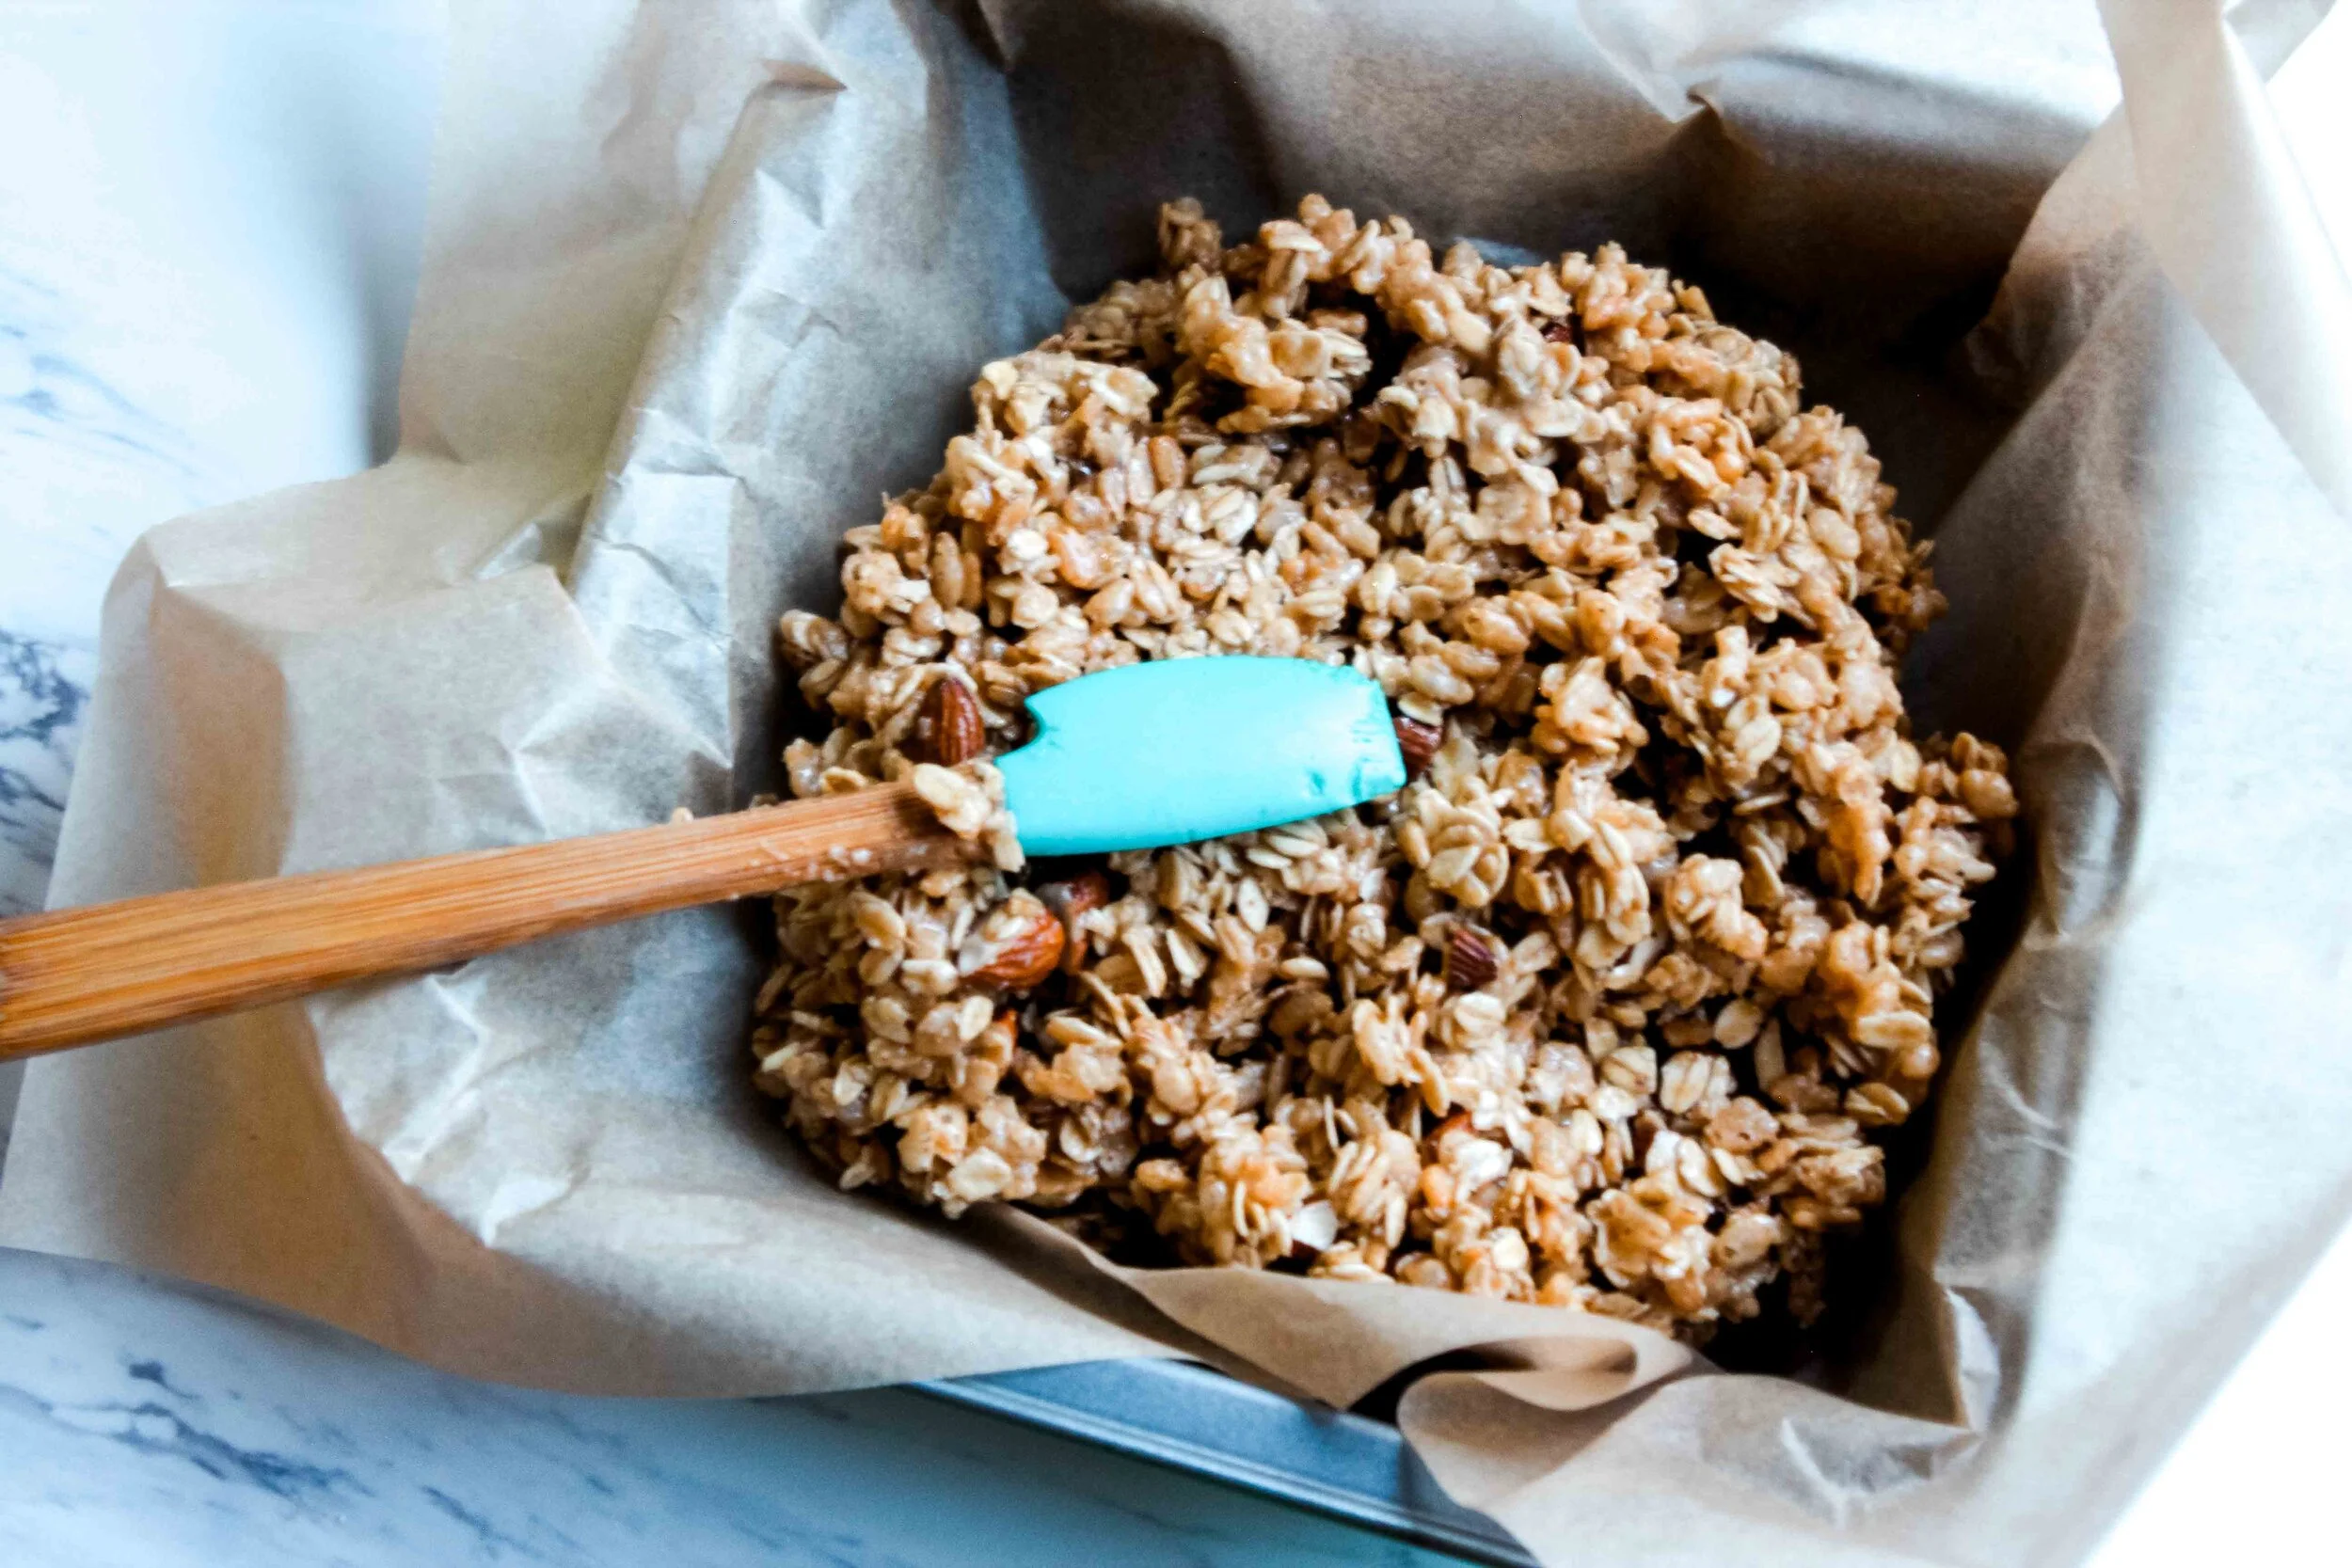
Last step: transfer your granola bar mixture into the pan lined parchment paper. Using a spatula or your clean hands, press the bars downwards and into the sides of the pan (see below). In the end, you want the bars to be as solid/dense as you can get them, and around 3/4’’ - 1’’ thick. Cover the pan with foil and chill in your refrigerator for at least a half hour, to allow the bars to set.
Once the bars have hardened together, remove the pan from the fridge and place your bars (well, ‘bar’) on a cutting board. If they’re super hard, allow them to warm up to room temperature for a few minutes. It’ll make the next step easier. Now you’re going to cut these into my bars. I like to use my chef’s knife here. First I cut the square in half. Then I work with each half separately, cutting into four or five bars, depending on how big I want them to be. I recommend that you store them in an air-tight container outside the fridge, and try to eat them within a week or two.
And that’s it! Did you try out this recipe? How did it go? Leave a comment and let me know!
